Argo CD Getting Started
Argo CD 是用于 Kubernetes 的声明式 GitOps 持续交付工具。
安装 Argo CD
Option 1:Non-HA
$ kubectl create namespace argocd
$ kubectl apply -n argocd -f https://raw.githubusercontent.com/argoproj/argo-cd/master/manifests/install.yaml
Option 2:HA
$ kubectl create namespace argocd
$ kubectl apply -n argocd -f https://raw.githubusercontent.com/argoproj/argo-cd/master/manifests/ha/install.yaml
本文使用 HA 方案部署,查看创建的 pod 资源
$ kubectl get pod -n argocd
NAME                                                READY   STATUS    RESTARTS   AGE
argocd-application-controller-0                     1/1     Running   0          16h
argocd-applicationset-controller-547bc4d9c6-2h25h   1/1     Running   0          16h
argocd-dex-server-5cccb5f87f-fs9ln                  1/1     Running   0          16h
argocd-notifications-controller-6cccb7cc45-4xwc2    1/1     Running   0          16h
argocd-redis-ha-haproxy-5895884d97-5twxw            1/1     Running   0          16h
argocd-redis-ha-haproxy-5895884d97-cw79d            1/1     Running   0          16h
argocd-redis-ha-haproxy-5895884d97-lmfbn            1/1     Running   0          16h
argocd-redis-ha-server-0                            2/2     Running   0          16h
argocd-redis-ha-server-1                            2/2     Running   0          16h
argocd-redis-ha-server-2                            2/2     Running   0          16h
argocd-repo-server-7469c4b96b-492qf                 1/1     Running   0          16h
argocd-repo-server-7469c4b96b-h2ghf                 1/1     Running   0          16h
argocd-server-5f49f99cfd-fvbt5                      1/1     Running   0          16h
argocd-server-5f49f99cfd-whx8m                      1/1     Running   0          16h
安装 Argo CD CLI
安装最新版本
$ curl -sSL -o /usr/local/bin/argocd https://github.com/argoproj/argo-cd/releases/latest/download/argocd-linux-amd64
$ chmod +x /usr/local/bin/argocd
安装指定版本
# 从 https://github.com/argoproj/argo-cd/releases 中选择所需的 TAG
$ VERSION=<TAG>
$ curl -fsSL -o /usr/local/bin/argocd https://github.com/argoproj/argo-cd/releases/download/$VERSION/argocd-linux-amd64
$ chmod +x /usr/local/bin/argocd
访问 Argo CD API 服务
公开 Argo CD API 服务
默认情况下,Argo CD API 服务不使用外部 IP 公开。要访问 API 服务,请选择以下方式之一来公开 Argo CD API 服务,本文使用 Ingress 方式。
Port Forwarding
Kubectl 端口转发也可用于连接到 API 服务器而不暴露服务
$ kubectl port-forward --address='192.168.20.17' svc/argocd-server -n argocd 8080:443
然后可以使用 https://192.168.20.17:8080 访问 API 服务
Load Balancer
将 argocd-server service 类型更改为 LoadBalancer
$ kubectl patch svc argocd-server -n argocd -p '{"spec": {"type": "LoadBalancer"}}'
Ingress
$ cat <<EOF | tee ingress-argocd.yaml
apiVersion: networking.k8s.io/v1
kind: Ingress
metadata:
  name: argocd-server-ingress
  namespace: argocd
  annotations:
    kubernetes.io/ingress.class: nginx
    nginx.ingress.kubernetes.io/force-ssl-redirect: "true"
    nginx.ingress.kubernetes.io/ssl-passthrough: "true"
spec:
  ingressClassName: nginx
  rules:
  - host: argocd.aluopy.com
    http:
      paths:
      - path: /
        pathType: Prefix
        backend:
          service:
            name: argocd-server
            port:
              name: https
EOF

$ kubectl apply -f ingress-argocd.yaml
ingress.networking.k8s.io/argocd-server-ingress created

$ kubectl get ing -n argocd
NAME                    CLASS   HOSTS               ADDRESS                       PORTS   AGE
argocd-server-ingress   nginx   argocd.aluopy.com   192.168.20.18,192.168.20.19   80      41s
注意:
nginx.ingress.kubernetes.io/ssl-passthrough注释要求将--enable-ssl-passthrough标志添加到 nginx-ingress-controller 的命令行参数中。
访问 Argo CD API 服务
获取 admin 帐户的初始密码
$ kubectl -n argocd get secret argocd-initial-admin-secret -o jsonpath="{.data.password}" | base64 -d; echo
Xd84OgIUclL6gPM1
浏览器访问:https://argocd.aluopy.com,用户名/密码:admin/Xd84OgIUclL6gPM1
使用 CLI 登录
# 获取 admin 帐户初始密码
$ kubectl -n argocd get secret argocd-initial-admin-secret -o jsonpath="{.data.password}" | base64 -d; echo
Xd84OgIUclL6gPM1

# 登录,10.96.25.35 为 argocd-server 的 ClusterIP
$ argocd login 10.96.25.35

# 更改密码
$ argocd account update-password
注册集群
此步骤将外部 K8S 集群的凭据注册到 Argo CD。在内部部署时(运行 Argo CD 的集群),应使用 https://kubernetes.default.svc 作为应用程序的 K8s API 服务器地址。
列出当前 kubeconfig 中的所有集群上下文:
$ kubectl config get-contexts -o name
从列表中选择一个上下文名称注册:
$ argocd cluster add <CONTEXTNAME>
上述命令将 ServiceAccount (argocd-manager) 安装到该 kubectl 上下文的 kube-system 命名空间中,并将服务帐户绑定到管理员级别的 ClusterRole。 Argo CD 使用此服务帐户令牌来执行其管理任务(即部署/监控)。
Note
可以修改 argocd-manager-role 角色的规则,使其仅对一组有限的命名空间、组、种类具有创建、更新、修补、删除权限。但是,在集群范围内需要 get、list、watch 权限,Argo CD 才能运行。
从 Git 存储库创建应用程序
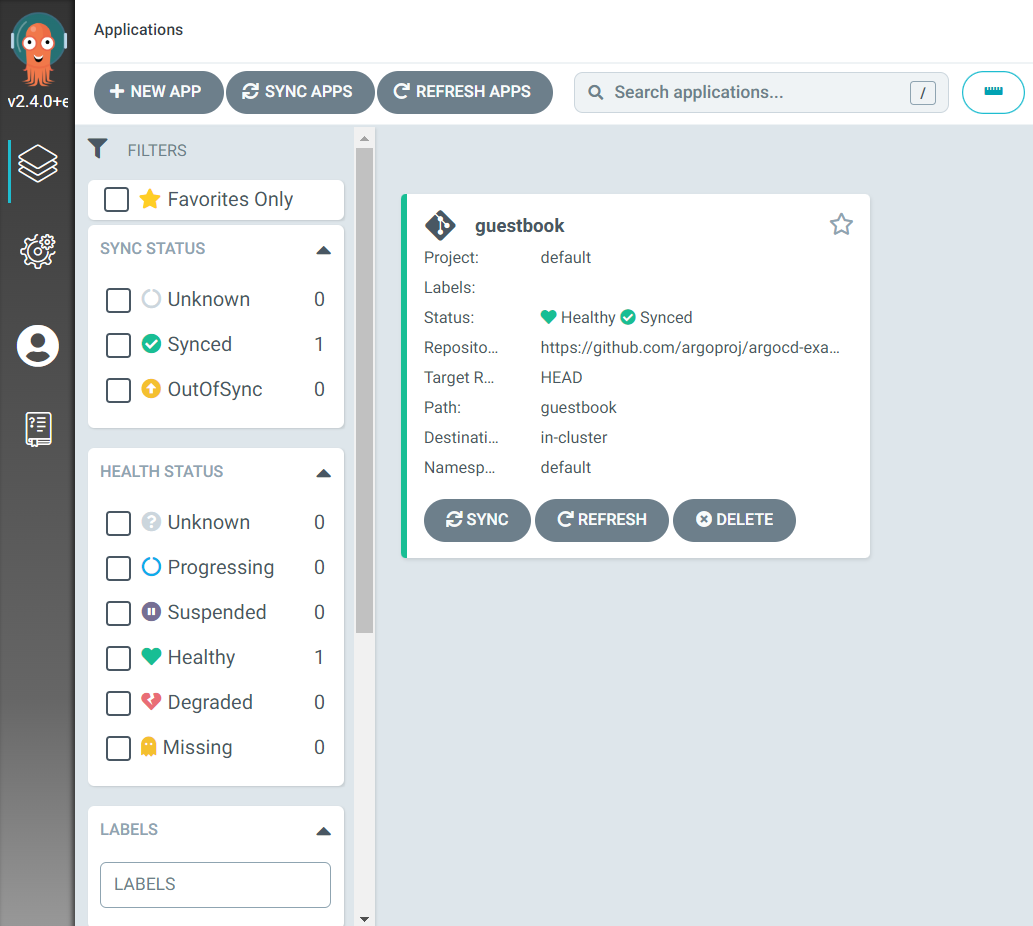
argoproj/argocd-example-apps: Example Apps to Demonstrate Argo CD (github.com) 提供了一个包含 guestbook 应用程序的示例存储库,以演示 Argo CD 的工作原理。
通过 CLI 创建应用程序
使用以下命令创建示例 guestbook 应用程序:
$ argocd app create guestbook --repo https://github.com/argoproj/argocd-example-apps.git --path guestbook --dest-server https://kubernetes.default.svc --dest-namespace default
通过 UI 创建应用程序
浏览器访问 https://argocd.aluopy.com 并登录。
点击 + New App 按钮,如下图:

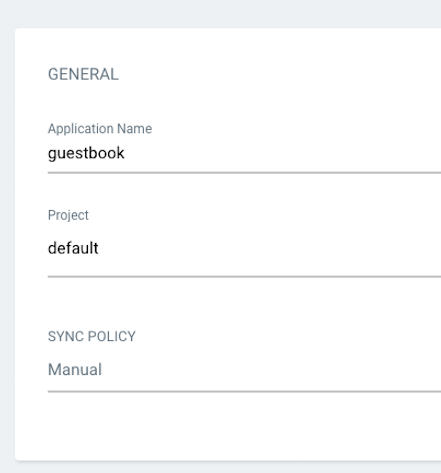
GENERAL,设置 Application Name(应用名称):guestbook,Project Name(项目名称): default,SYNC POLICY(同步策略):Manual
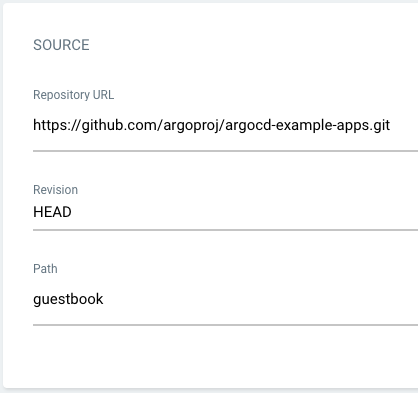
SOURCE,设置 Repository URL(存储库 URL):https://github.com/argoproj/argocd-example-apps.git,Revision:HEAD,Path:guestbook
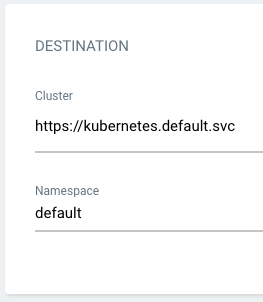
DESTINATION,将 Cluster URL 设置为 https://kubernetes.default.svc,并将 Namespace 设置为 default
填写完以上信息后,点击 UI 顶部的 Create 按钮来创建 guestbook 应用。
同步(部署)应用程序
通过 CLI 同步
创建 guestbook 应用程序后,可以使用如下命令查看其状态:
$ argocd app get guestbook
Name:               guestbook
Server:             https://kubernetes.default.svc
Namespace:          default
URL:                https://10.97.164.88/applications/guestbook
Repo:               https://github.com/argoproj/argocd-example-apps.git
Target:
Path:               guestbook
Sync Policy:        <none>
Sync Status:        OutOfSync from  (1ff8a67)
Health Status:      Missing

GROUP  KIND        NAMESPACE  NAME          STATUS     HEALTH
apps   Deployment  default    guestbook-ui  OutOfSync  Missing
       Service     default    guestbook-ui  OutOfSync  Missing
应用程序状态最初处于 OutOfSync 状态,因为尚未部署应用程序,并且尚未创建任何 Kubernetes 资源。要同步(部署)应用程序,请运行:
$ argocd app sync guestbook
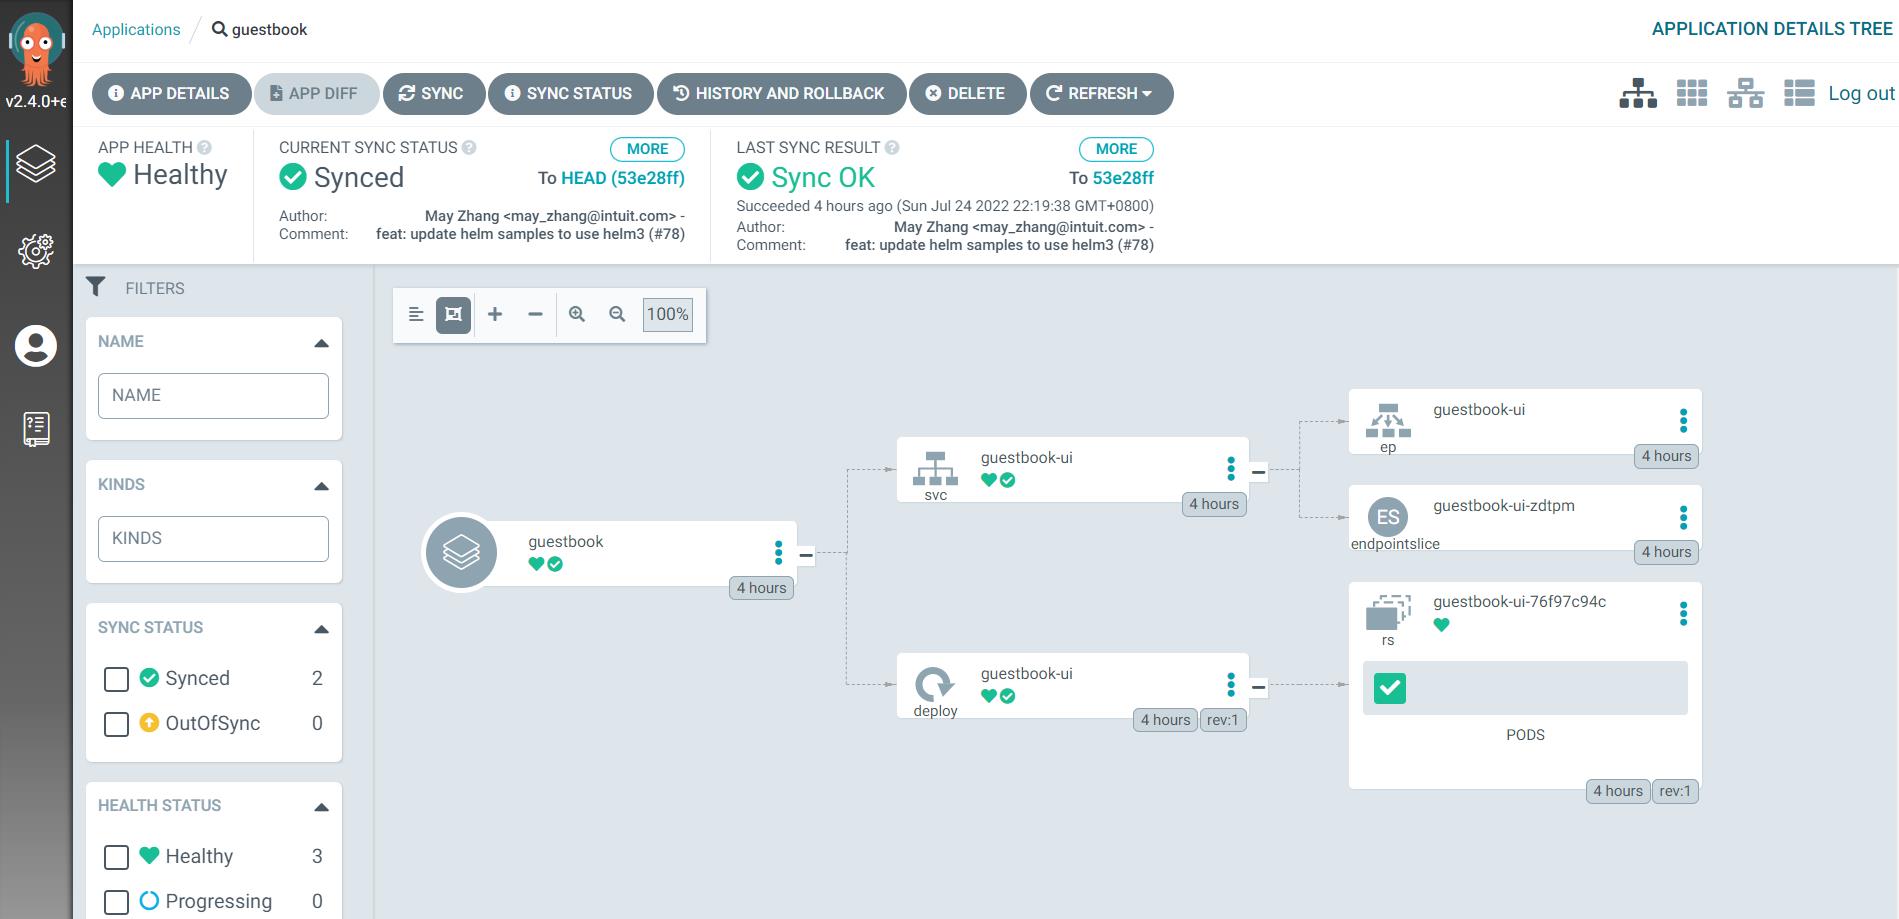
此命令从存储库中检索清单并执行清单的 kubectl 应用。guestbook 应用程序现在正在运行,现在可以查看其资源组件、日志、事件和评估的健康状态。
通过 UI 同步
